User Manual

Scrollyplay

Control the playback of your videos through page scrolling. This guide explains step-by-step how to configure the properties to create exceptional visual effects, with practical examples to master every single feature.

1. Resources and Basic Settings

Upload your video and define the visual basics of the container for perfect integration.

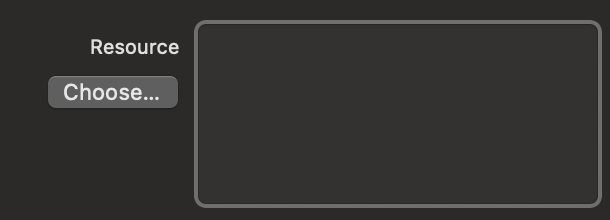
Video Resource (mp4)

Insert the video file you want to animate. Ensure it is optimized for the web (preferably MP4).

Practical example: If you have a 3D animation of a product or a short tutorial, insert it here. The component will transform it into an interactive sequence driven by scroll.
Video Resource Screenshot

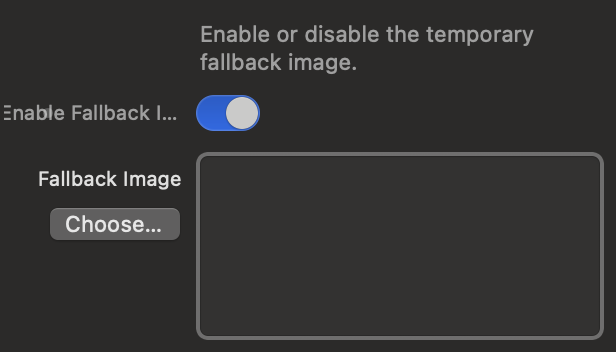
Fallback Image (Poster)

A temporary static image shown while the video is being processed in the background.

Practical example: Imagine a user with a slow connection; instead of seeing an annoying white rectangle for a few seconds, they will see this cover (e.g., the first frame of your video), creating a much more professional experience.
Fallback Screenshot

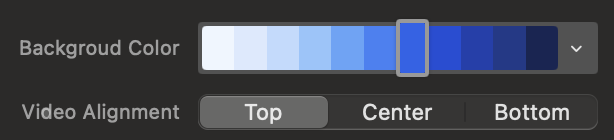
Background and Alignment

Choose the container's background color and how to anchor the video.

Practical example: If the main subject of your video is at the top of the frame and the visitor uses a narrow smartphone, set the alignment to "Top" to ensure the subject's head is never cut off the screen.
Alignment Screenshot

2. Scrub Engine

Adjust the speed and smoothness with which the video reacts to the mouse wheel.
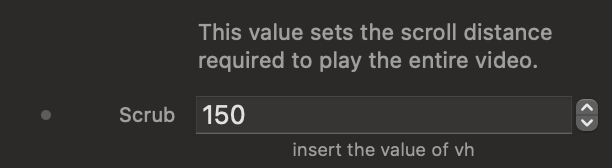
Scrub Value (vh)

Defines "how much" the user must scroll to play the entire video. The "vh" measurement indicates the height of the screen (100vh = 1 full screen).

Practical example: By setting 150vh, the user will have to scroll for a page and a half to see the whole video. If you set 300vh, you will spread the video over a much longer scroll, obtaining an almost "slow-motion" effect.
Scrub Value Screenshot

Scrub Behavior

Manages the physical sensation and inertia of the scrolling.
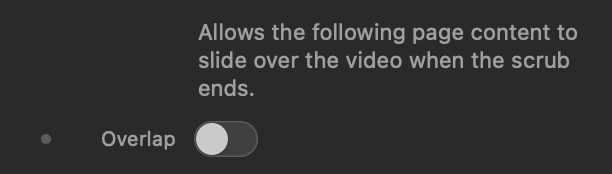
Practical example: "Smooth" makes the video float by adding inertia, ideal for elegant abstract animations. "Instant" rigidly locks the video exactly where the user's mouse wheel stops, perfect for technical infographics where very precise stops are needed.
Scrub Behavior Screenshot

Overlap Effect

Subverts the normal flow of the page, managing what happens at the end of the video.

Practical example: Normally, when the video ends, the page resumes scrolling, pushing the video upwards. With Overlap active, the video remains glued to the background and the next section physically "slides" over the video, progressively covering it like a theatrical curtain.
Overlap Screenshot

3. Smart Loading (Loader)

Ensure a seamless playback by loading the video into memory before the action.

Enable Loader (Preloading)

Activates a temporary block that "freezes" the component until the video is 100% downloaded in the user's browser, guaranteeing absolute smoothness.

Practical example: If a user scrolls the page while the video is still downloading data, the result will be a horrible choppy playback. This switch prevents the issue by forcing the initial wait.
Loader Toggle Screenshot

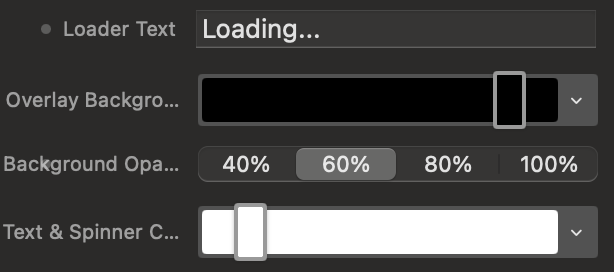
Loader Style and Colors

Customize the aesthetics of the waiting screen and its colors.
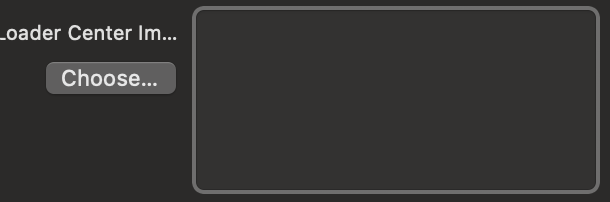
Practical example: You can set a black background at 80% opacity and a white spinner. This way, the user will glimpse the fallback image (located underneath) as if in the shadows, intuitively understanding that media content is on its way.
Loader Style Screenshot

Loader Center Image

Upload your company logo or a custom icon that will appear perfectly centered within the circular animation.

Practical example: Instead of showing just a generic spinning circle, insert your pictogram to offer a premium touch, reassuring the user and strengthening your brand identity.
Loader Logo Screenshot

4. Trigger Points (Scroll Triggers)

Define the exact intersection between the monitor and the component where the magic starts and ends.

The Concept of Viewport and Video

The Viewport is the user's device screen. The Video Container is the box containing your footage.

Practical example: If you set Viewport Start to Bottom and Video Start to Top, you are telling the system: "Start moving the video as soon as the top line (Top) of the component emerges from the bottom line (Bottom) of the screen."
Triggers Screenshot

Interactive Trigger Simulator

Use the control panel on the left to simulate the settings in Elements. See the live result in the browser window on the right. Blue lines control when the video starts, Red lines control when it ends.

Elements Icon
+
Scrollyplay Icon
www.sassano.me
VIEWPORT
VP Start
VP End
Comp Start
Comp End
Scrollyplay

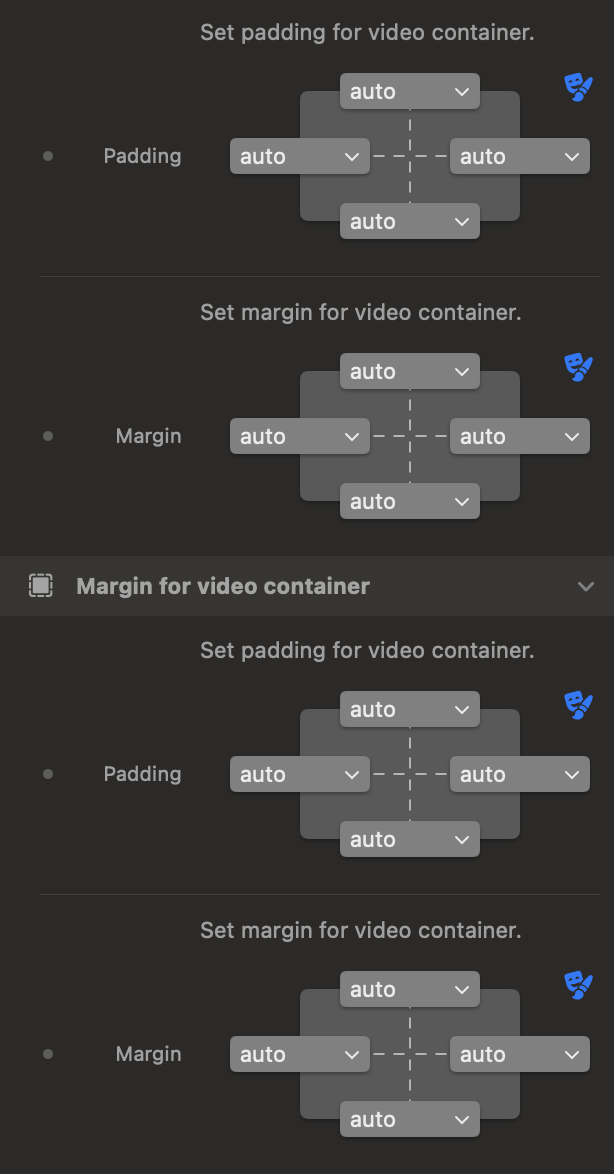
5. Spacing (Padding & Margin)

Manage the margins and internal padding to lay out the component on the page.

Container and Video Space

Use standard spacing controls to give the layout room to breathe.
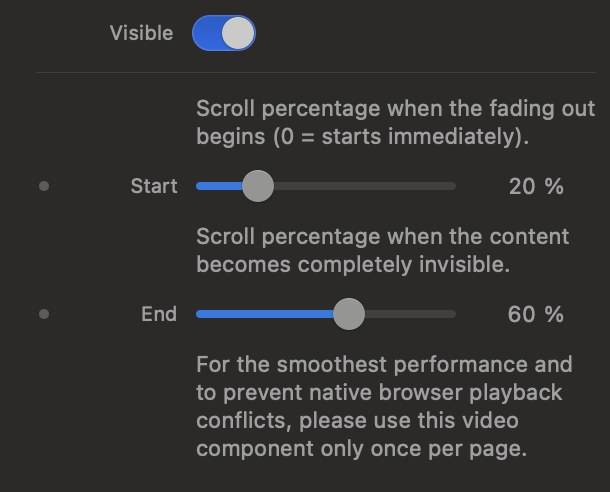
Practical example: Use 'Margin' to detach the video block from the top and bottom texts of the page. Use 'Padding' (internal space) instead if you want to create a "frame" effect.
Spacing Screenshot

6. Fades and Hints

Improve graphic integration and intuitively guide your users.

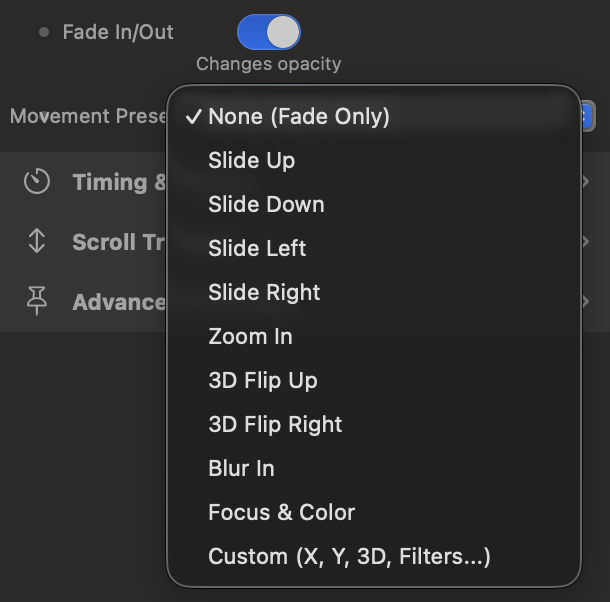
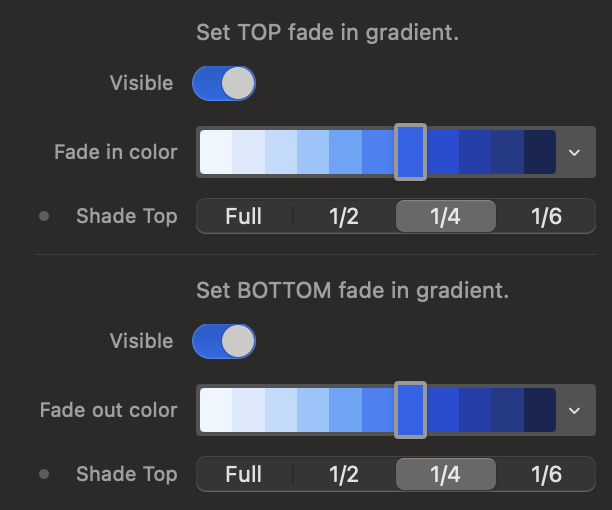
Fades (Fade Top & Bottom)

Apply overlapping gradients to hide sharp cuts in the video.

Practical example: If your site has a dark theme and the video is bright, you can apply a dark Fade Top and Bottom. This way, the edges of the video will magically blend with the site's background.
Fades Screenshot

Bottom Area (Scroll Hint)

An area (HUD) at the bottom where you can insert texts or icons to suggest scrolling.

Practical example: You can tell the Hint to appear immediately (Start: 0%) to give instructions, but to gradually dissolve to disappear completely when the user reaches 30% of the animation.
Scroll Hint Screenshot